 Perplexed
An open-source app inspired by the amazing web search product, Perplexity.



Live Demo
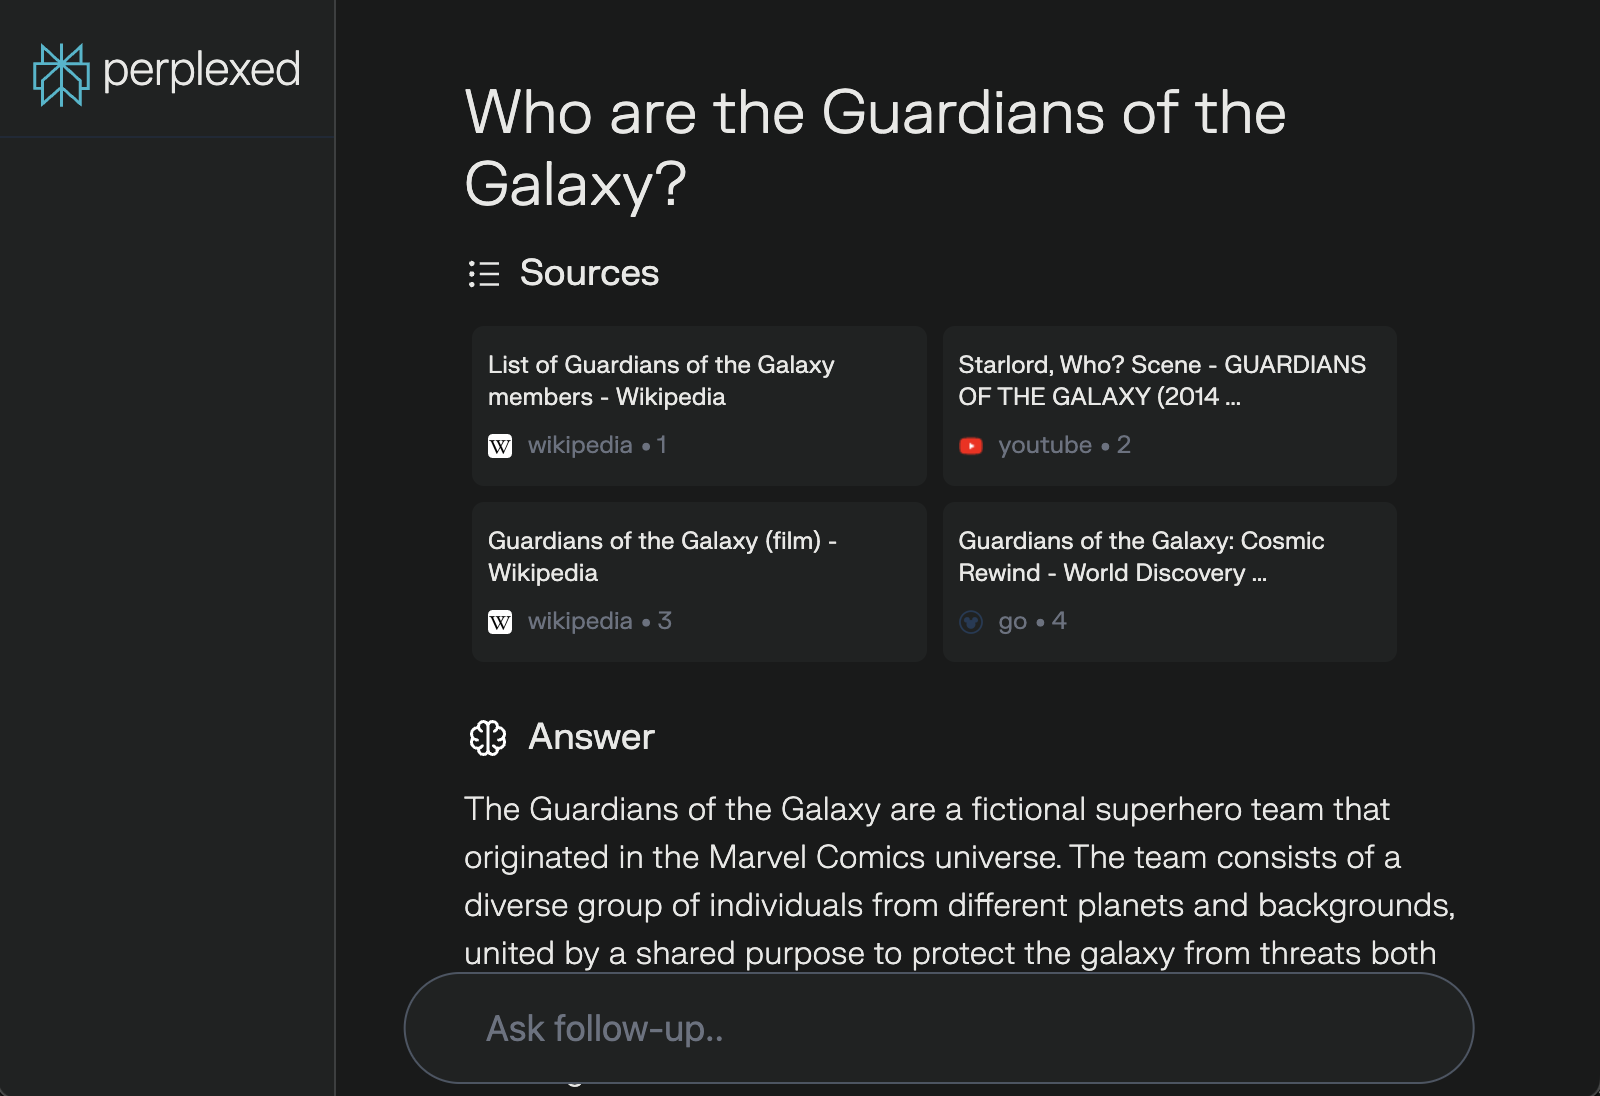
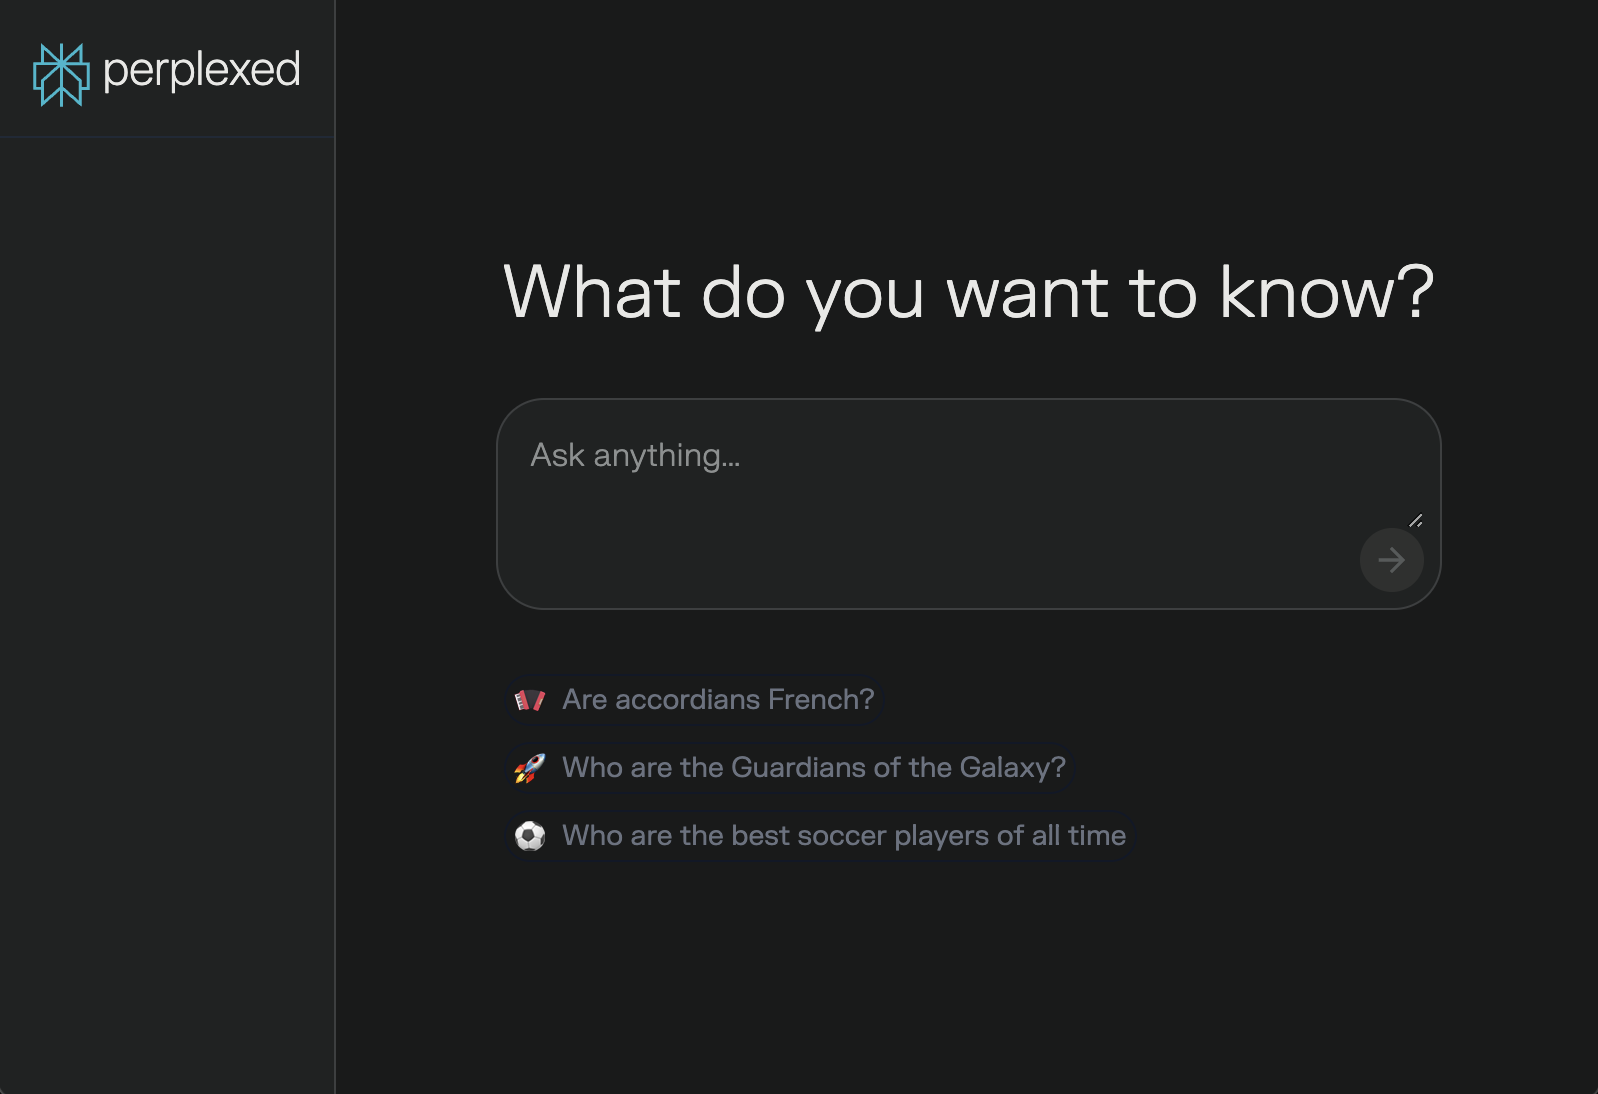
Implementation
Given a user query, the app conducts a web search,
downloads the top N resulting web pages, then analyzes those pages
with an LLM.

The LLM can be any smaller, consumer-grade with at least 5k context window (assuming each web page ~1k tokens).
Development
To take advantage of the configured build steps, our recommended tools are:
Workflow and Local Deployment
- run
just in the terminal to see available recipes. We support recipes to launch the app in dev, staging and production modes.
- dev: run app as two processes on localhost
- both processes can be exited with
Ctrl-C in the terminal
- staging: run app inside a docker container as a single http service, fronted by
nginx
- the single http service
docker runs in the foreground, Ctrl-C to stop container
- production: a variant of staging with diff env vars
- the single http service will respond to platform-specific terminate/kill signals
- generally the platforms will rotate in a new container instance when you deploy a new version and directing traffic there when the container is ready/healthy.
- required: pre-fill
.env.* files prior to starting app instances
- e.g. if testing in staging, fill out
frontend/.env.staging then just build-image-staging && just run to take your app into the container and launch the server on http://localhost:30000
Deployment Instructions - Manual, without our justfile recipes
Refer to the justfile for step by step recipes. The following describes the requirements if you choose to re-implement in a different environment.
A. Python Server
-
cd backend
cp .env.example .env
-
In backend/.env, fill in GOOGLE_SEARCH_API_KEY and GOOGLE_SEARCH_ENGINE_ID credentials from Google Custom Search API.
-
Fill in GROQ_API_KEY credentials from Groq.
-
Setup virtual environment, packages, and deploy the server
uv venv
. .venv/bin/activate
uv pip install -r requirements.txt
python app.py
This is fine for dev testing.
-
Wherever you run this backend, you need to define env var DOMAINS_ALLOW to match the frontend domain the browser sees.
For production, check docker/ for example containerized/cloud process management scripts.
You may choose to do add-on engineering with supervisord, nginx or a variety of modifications.
Furthermore, in production environments you should set the secrets according the platform best practices, you should expect a secrets get/set API or CLI, e.g. in our Fly.io example you would use fly secrets set|unset prior to deploying your app.
B. React Frontend
The React app can be compiled into a static site you can serve with nginx, npx serve or your choice of framework.
-
cd frontend
-
Update REACT_APP_API_URL in constants.js to point to your server
-
Install Bun TL;DR: curl -fsSL https://bun.com/install | bash, or use npx bun if you already have npx
bun install
bun run build:dev
bun run build:staging
bun run build:prod
There are justfile recipes for all of the above.
-
In dev testing, to start the server:
just frontend-dev
PORT=30000 bun start ./build-[dev|staging|prod]
-
In staging the docker app on your host, to start the server:
Fill in values in frontend/.env.staging.
Refer to the justfile recipes for implementation details.
just run
Contributors
git add -u your modified files and run pre-commit to perform ruff lint/format checks
TODOS


评论