Development on this repository has been frozen.
Feel free to send a pull request if you are maintaining an active fork of this project to add a link to your repository in this readme.
Active Forks
linx-server
Self-hosted file/media sharing website.
Clients
Official
Unofficial
Features
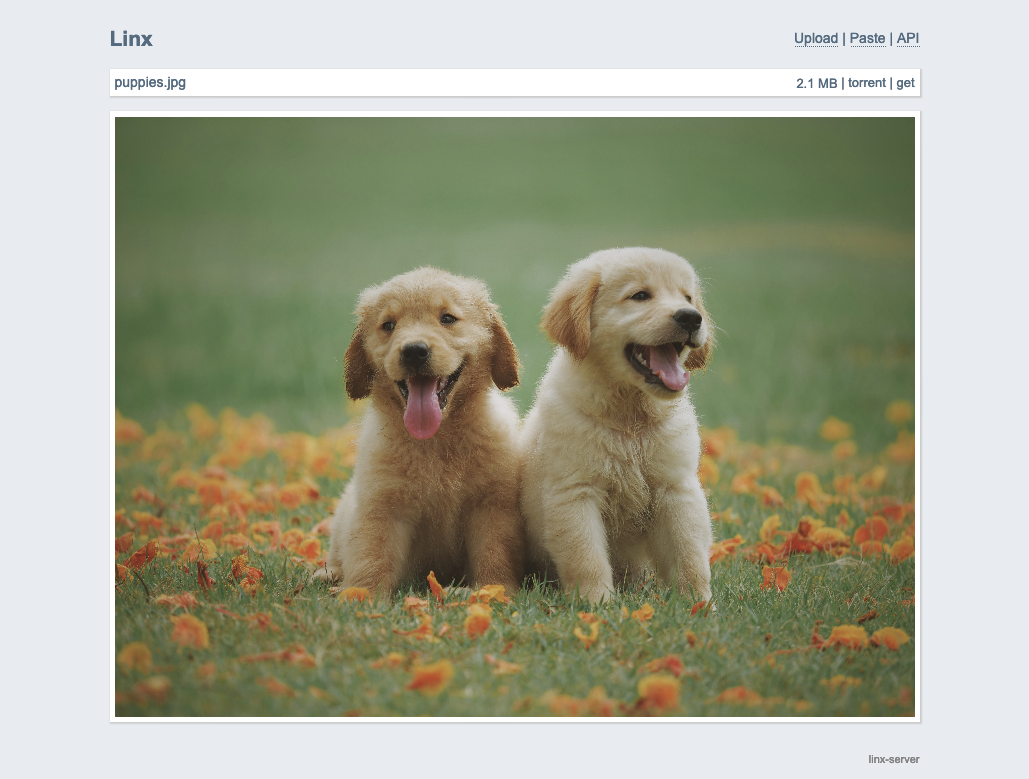
- Display common filetypes (image, video, audio, markdown, pdf)
- Display syntax-highlighted code with in-place editing
- Documented API with keys for restricting uploads
- Torrent download of files using web seeding
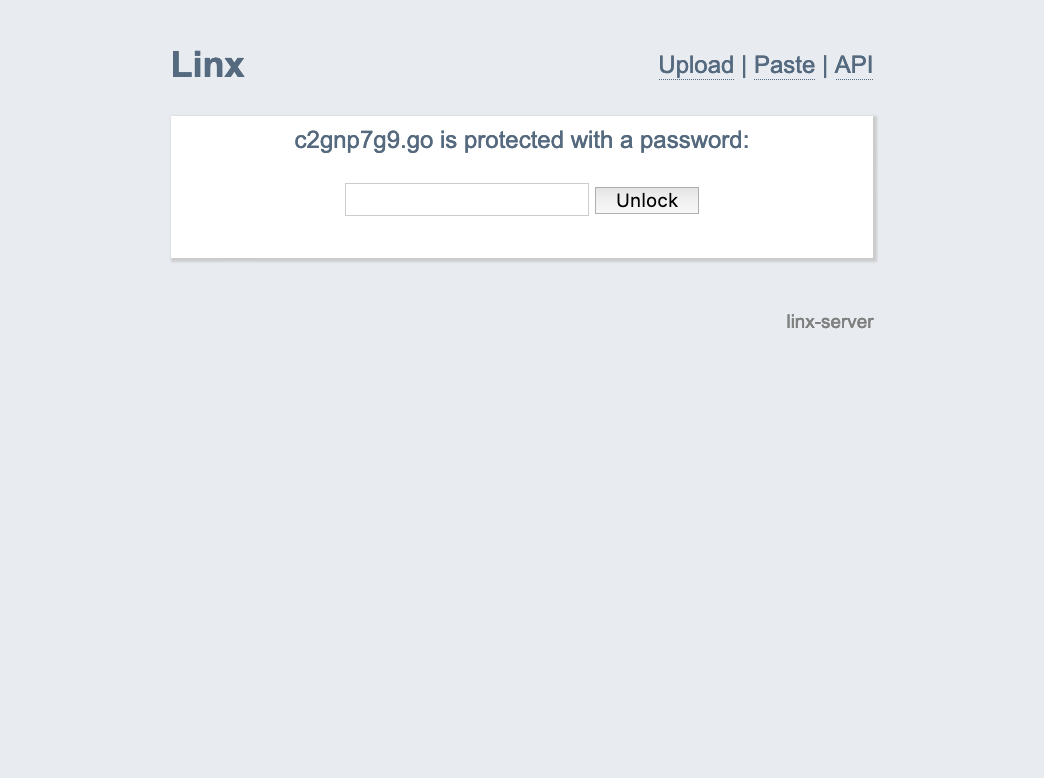
- File expiry, deletion key, file access key, and random filename options
Screenshots



Getting started
Using Docker
- Create directories
files and meta and run chown -R 65534:65534 meta && chown -R 65534:65534 files
- Create a config file (example provided in repo), we’ll refer to it as linx-server.conf in the following examples
Example running
docker run -p 8080:8080 -v /path/to/linx-server.conf:/data/linx-server.conf -v /path/to/meta:/data/meta -v /path/to/files:/data/files andreimarcu/linx-server -config /data/linx-server.conf
Example with docker-compose
version: '2.2'
services:
  linx-server:
    container_name: linx-server
    image: andreimarcu/linx-server
    command: -config /data/linx-server.conf
    volumes:
      - /path/to/files:/data/files
      - /path/to/meta:/data/meta
      - /path/to/linx-server.conf:/data/linx-server.conf
    network_mode: bridge
    ports:
      - "8080:8080"
    restart: unless-stopped
Ideally, you would use a reverse proxy such as nginx or caddy to handle TLS certificates.
Using a binary release
- Grab the latest binary from the releases, then run
go install
- Run
linx-server -config path/to/linx-server.conf
Usage
Configuration
All configuration options are accepted either as arguments or can be placed in a file as such (see example file linx-server.conf.example in repo):
bind = 127.0.0.1:8080
sitename = myLinx
maxsize = 4294967296
maxexpiry = 86400
# ... etc
…and then run linx-server -config path/to/linx-server.conf
Options
| Option |
Description |
bind = 127.0.0.1:8080 |
what to bind to (default is 127.0.0.1:8080) |
sitename = myLinx |
the site name displayed on top (default is inferred from Host header) |
siteurl = https://mylinx.example.org/ |
the site url (default is inferred from execution context) |
selifpath = selif |
path relative to site base url (the “selif” in mylinx.example.org/selif/image.jpg) where files are accessed directly (default: selif) |
maxsize = 4294967296 |
maximum upload file size in bytes (default 4GB) |
maxexpiry = 86400 |
maximum expiration time in seconds (default is 0, which is no expiry) |
allowhotlink = true |
Allow file hotlinking |
contentsecuritypolicy = "..." |
Content-Security-Policy header for pages (default is “default-src ‘self’; img-src ‘self’ data:; style-src ‘self’ ‘unsafe-inline’; frame-ancestors ‘self’;”) |
filecontentsecuritypolicy = "..." |
Content-Security-Policy header for files (default is “default-src ‘none’; img-src ‘self’; object-src ‘self’; media-src ‘self’; style-src ‘self’ ‘unsafe-inline’; frame-ancestors ‘self’;”) |
refererpolicy = "..." |
Referrer-Policy header for pages (default is “same-origin”) |
filereferrerpolicy = "..." |
Referrer-Policy header for files (default is “same-origin”) |
xframeoptions = "..." |
X-Frame-Options header (default is “SAMEORIGIN”) |
remoteuploads = true |
(optionally) enable remote uploads (/upload?url=https://…) |
nologs = true |
(optionally) disable request logs in stdout |
force-random-filename = true |
(optionally) force the use of random filenames |
custompagespath = custom_pages/ |
(optionally) specify path to directory containing markdown pages (must end in .md) that will be added to the site navigation (this can be useful for providing contact/support information and so on). For example, custom_pages/My_Page.md will become My Page in the site navigation |
Cleaning up expired files
When files expire, access is disabled immediately, but the files and metadata
will persist on disk until someone attempts to access them. You can set the following option to run cleanup every few minutes. This can also be done using a separate utility found the linx-cleanup directory.
| Option |
Description |
cleanup-every-minutes = 5 |
How often to clean up expired files in minutes (default is 0, which means files will be cleaned up as they are accessed) |
Require API Keys for uploads
| Option |
Description |
authfile = path/to/authfile |
(optionally) require authorization for upload/delete by providing a newline-separated file of scrypted auth keys |
remoteauthfile = path/to/remoteauthfile |
(optionally) require authorization for remote uploads by providing a newline-separated file of scrypted auth keys |
basicauth = true |
(optionally) allow basic authorization to upload or paste files from browser when -authfile is enabled. When uploading, you will be prompted to enter a user and password - leave the user blank and use your auth key as the password |
A helper utility linx-genkey is provided which hashes keys to the format required in the auth files.
Storage backends
The following storage backends are available:
| Name |
Notes |
Options |
| LocalFS |
Enabled by default, this backend uses the filesystem |
filespath = files/ – Path to store uploads (default is files/)
metapath = meta/ – Path to store information about uploads (default is meta/) |
| S3 |
Use with any S3-compatible provider.
This implementation will stream files through the linx instance (every download will request and stream the file from the S3 bucket). File metadata will be stored as tags on the object in the bucket.
For high-traffic environments, one might consider using an external caching layer such as described in this article. |
s3-endpoint = https://... – S3 endpoint
s3-region = us-east-1 – S3 region
s3-bucket = mybucket – S3 bucket to use for files and metadata
s3-force-path-style = true (optional) – force path-style addresing (e.g. https://s3.amazonaws.com/linx/example.txt)
Environment variables to provide:
AWS_ACCESS_KEY_ID – the S3 access key
AWS_SECRET_ACCESS_KEY – the S3 secret key
AWS_SESSION_TOKEN (optional) – the S3 session token |
SSL with built-in server
| Option |
Description |
certfile = path/to/your.crt |
Path to the ssl certificate (required if you want to use the https server) |
keyfile = path/to/your.key |
Path to the ssl key (required if you want to use the https server) |
Use with http proxy
| Option |
Description |
realip = true |
let linx-server know you (nginx, etc) are providing the X-Real-IP and/or X-Forwarded-For headers. |
Use with fastcgi
| Option |
Description |
fastcgi = true |
serve through fastcgi |
Deployment
Linx-server supports being deployed in a subdirectory (ie. example.com/mylinx/) as well as on its own (example.com/).
1. Using fastcgi
A suggested deployment is running nginx in front of linx-server serving through fastcgi.
This allows you to have nginx handle the TLS termination for example.
An example configuration:
server {
    ...
    server_name yourlinx.example.org;
    ...

    client_max_body_size 4096M;
    location / {
        fastcgi_pass 127.0.0.1:8080;
        include fastcgi_params;
    }
}
And run linx-server with the fastcgi = true option.
2. Using the built-in https server
Run linx-server with the certfile = path/to/cert.file and keyfile = path/to/key.file options.
3. Using the built-in http server
Run linx-server normally.
Development
go get -u github.com/andreimarcu/linx-server cd $GOPATH/src/github.com/andreimarcu/linx-server go build && ./linx-server
License
Copyright © 2015 Andrei Marcu
This program is free software: you can redistribute it and/or modify
it under the terms of the GNU General Public License as published by
the Free Software Foundation, either version 3 of the License, or
(at your option) any later version.
This program is distributed in the hope that it will be useful,
but WITHOUT ANY WARRANTY; without even the implied warranty of
MERCHANTABILITY or FITNESS FOR A PARTICULAR PURPOSE. See the
GNU General Public License for more details.
You should have received a copy of the GNU General Public License
along with this program. If not, see http://www.gnu.org/licenses/.
Author
Andrei Marcu, https://andreim.net/






评论