


Njord Menu 5.0 "Odin" - Updated for Valheim 1.0 - Last Validation -> 21-SEP-2026

So easy a Viking can do it!
Explore the docs »
View Demo
·
How to Update your Server
.
Top 10 Server Issue Fixes
.
Report Bug
·
Request Feature
- BETA Branch has the web GUI we are working on. Please feel free to help us make it awesome. Only use the BETA branch, if you know what you are doing.
Server Hosting Provided By DigitalOcean
Table of Contents
-
About The Project
-
Getting Started
- Usage
- Roadmap
- Contributing
- Contact
- Acknowledgements
About The Project
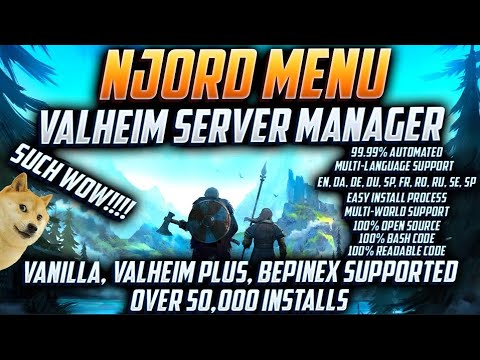
How to video: https://www.youtube.com/watch?v=E1oGIP0w06Q
Built With
Getting Started
This is an example of how you may give instructions on setting up your project locally.
To get a local copy up and running follow these simple example steps.
Prerequisites
- Cloud Hosting or Virtualization Service
Digital Ocean (Highly Recommended)
AWS
Azure
Google Cloud Platform
- Ubuntu Install
Ubuntu 24.04 LTS
- Putty 64bit for Windows User
https://www.chiark.greenend.org.uk/~sgtatham/putty/
- WinSCP 64bit for Windows Users who wish to transfer world files from one machine to another.
https://winscp.net/eng/download.php
Installation
- SSH into your newly Created VM
From your home computer, connect to your Ubuntu VM via SSH using putty or another method. (Putty is recommended)
If you can connect via Putty/Terminal, then you have setup at least one firewall rule setup correctly and later you can just added the required ports for Valheim.
- Minimal Requirements:
2 CPU and 4GB RAM

You might be able to get it work with less but its a dice roll with any Cloud Services.
Also, once your world starts becoming explored and you start building stuff... You will wish you had the minimal requirements.
Think about this like a Minecraft Server.... Your database will grow as you continue to play.
Therefore the need for additional CPU and RAM resources will grow.
- Verify GIT and Net Tools is installed
=
sudo apt update && sudo apt install git net-tools
- Change directory to OPT for installation script (Advance User do what you wish)
=
cd /opt
- Download Easy Installer from Github - Nimdy (Zero Bandwidth)
=
git clone https://github.com/Nimdy/Dedicated_Valheim_Server_Script.git
- Change directory to Dedicated_Valheim_Server_Script
=
cd Dedicated_Valheim_Server_Script
- Give the script to execution permissions
=
sudo chmod +x njordmenu.sh
- Launch the Menu System (Please run this as root first or a true user account with sudo permissions | DONT USE sudo -u | use sudo -i )
=
sudo ./njordmenu.sh
-
Select Option 3 - Install Valheim Server or Add another Valheim Instance
-
Enter a Password for the newly created NONROOT local Steam account (This is not your Steam account, just a local account to run the Valheim Server)
-
Enter what you wish your Public Valheim Server display will be called
-
Enter your local world name. This is the name your map data files will be called and what your World is called for those who play in it.
-
Enter the password required to connect to your server. This is required.
-
Your information is now saved for you later. A lot of people seem to forget this, so we added a little reminder. Keep this safe.
-
That’s it for the install! Now you need to setup your firewall rules.
-
Now configure your firewalls to allow the game to connect. Click the wiki link listed below.
Allow ports 2456,2457,2458 (TCP/UDP) on your server. This might take you a while, if you never done it before. Don’t worry, members in my discord and myself can help troubleshoot later
(DO NOT OVER LOOK THIS STEP)
If running in a Cloud Server, please check the WIKI for configuration steps.
https://github.com/Nimdy/Dedicated_Valheim_Server_Script/wiki/How-to-use-the-Menu-Script
For Valheim+ Mod Support Visit there page:
https://github.com/valheimPlus/ValheimPlus/issues
- Did this help you? Please star it!
- Do you want to add to this? Please fork it!
Usage
Here is the complete walk through using DigitalOcean Services.
For more examples, please refer to the Documentation

Roadmap
See the open issues for a list of proposed features (and known issues).
Contributing
Contributions are what make the open source community such an amazing place to be learn, inspire, and create. Any contributions you make are greatly appreciated.
- Fork the Project
- Create your Feature Branch (
git checkout -b feature/AmazingIdea)
- Commit your Changes (
git commit -m 'Add some AmazingIdea')
- Push to the Branch (
git push origin feature/AmazingIdea)
- Open a Pull Request
Follow me on Twitter: @zerobandwidth - [email protected]
Project Link: https://github.com/Nimdy/Dedicated_Valheim_Server_Script
Acknowledgements


评论